Table Number Co · comparison
QR menu signs versus static menu displays
Choose a QR menu sign when you want the guest to open an online destination and your team can maintain that destination. Choose a static display when the information should be readable directly on the sign. A combined arrangement can show a short message or selected information in print while offering the full menu online. The best choice depends on the table position, the content that changes, and the alternative available to a guest who does not use the code.
Reviewed 2026-09-05 · AI-assisted editorial review. General buying guidance; illustrative scenarios are not customer case studies. Images are AI-generated concepts.
Decide what one sign is asking the guest to do before selecting its shape or finish. View the menu, place an order, join a waitlist and leave a review are different actions. A single generic instruction such as scan here leaves that choice unexplained. Write the intended action clearly and make sure the destination delivers it.
Separate information that stays from information that changes
List the content you expect to keep on the physical piece: a restaurant name, a table reference, a short instruction or a stable contact direction. Then list the content that changes during service or between menus. Decide who owns each change. A permanent-looking plaque can still point to a menu that needs frequent attention, and a static menu insert can be practical when your team already has a reliable replacement process.
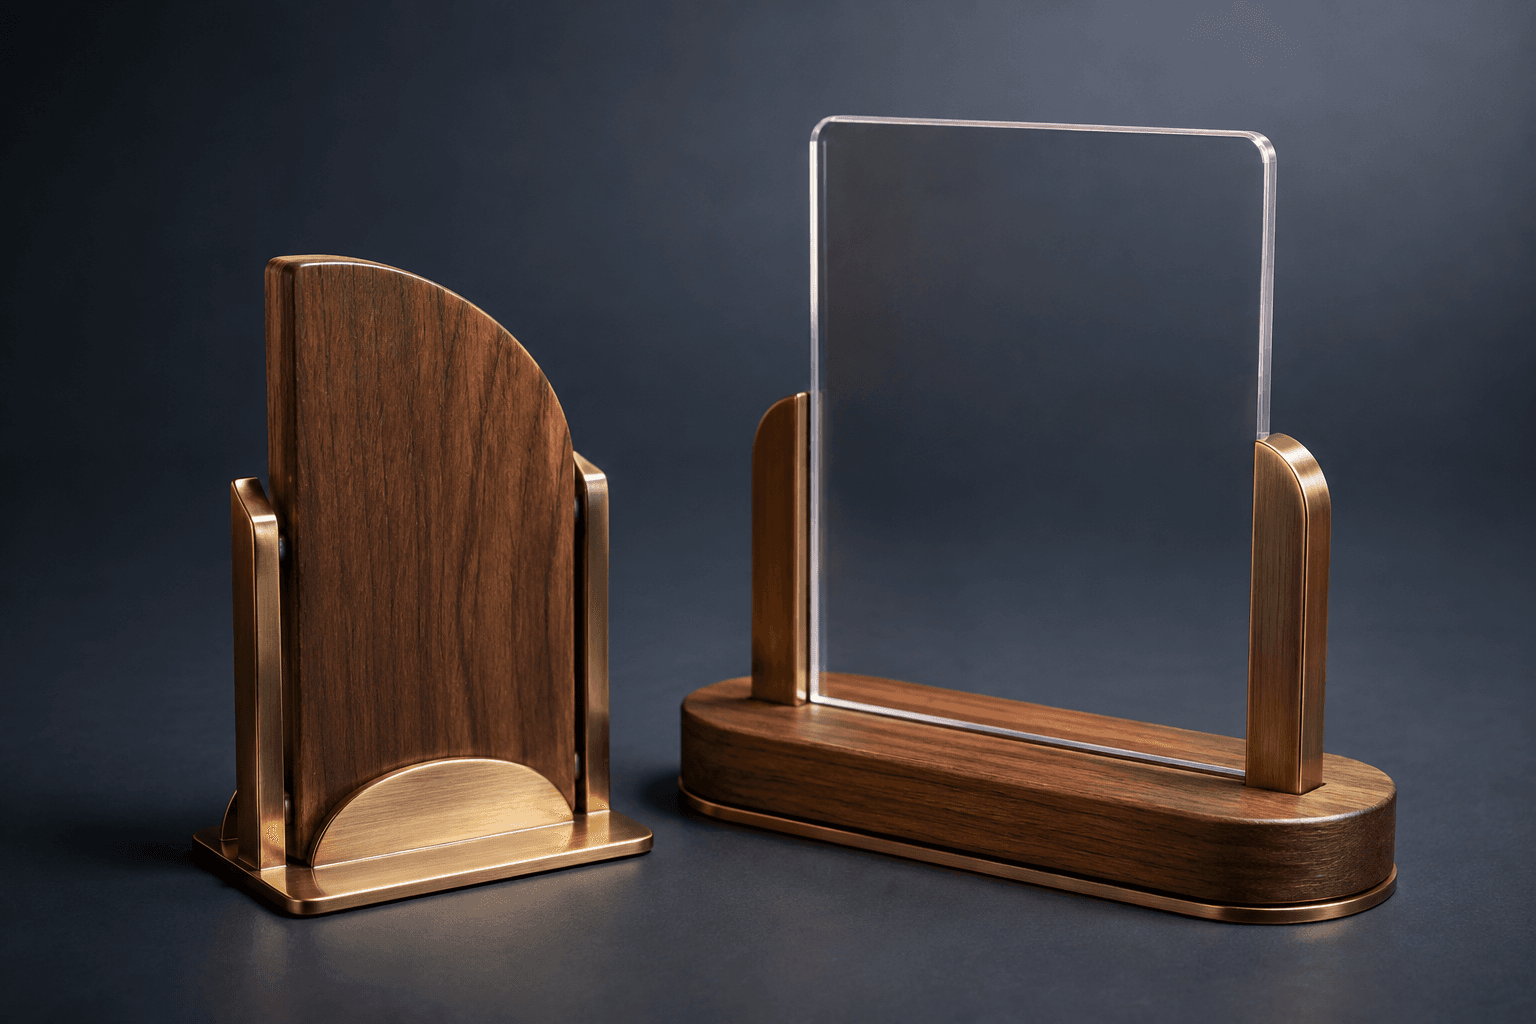
For a printed menu display, specify whether the entire sign is replaced when the menu changes or whether a separate insert is intended. Ask for the proposed construction and replacement method. A visual concept of a framed menu does not establish that the frame opens, that an insert is included, or that your staff can replace it in the way imagined. Put the desired update process in the design brief.
For a combined display, avoid duplicating changing details without a plan to keep both versions aligned. If a printed panel and an online page both show the current menu, assign someone to update and verify both. The convenience of one route does not resolve an outdated version on the other.
Make the destination part of the sign specification
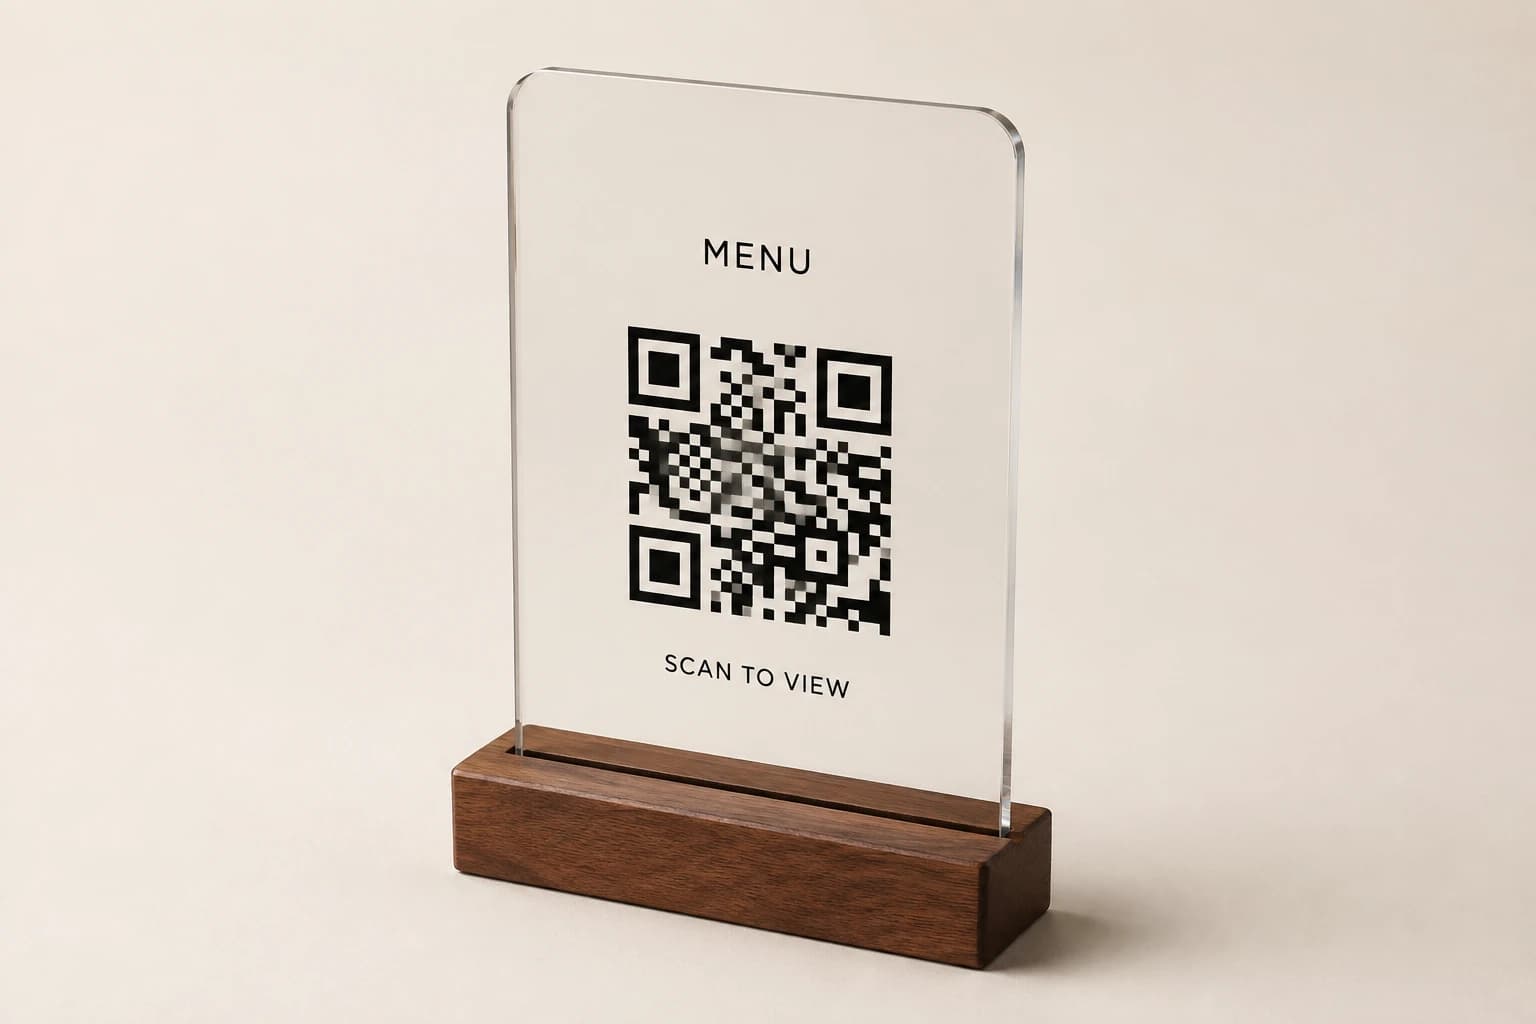
Record the exact destination for each QR layout and who can maintain it. A location-specific sign should open the intended location's menu or ordering flow, not leave the guest to discover that they are viewing another branch. If one layout is shared across several restaurants, decide whether a common landing page or separate codes best serves the guest action. Test the actual choice rather than assuming visual consistency requires one identical destination.
A printed code encodes the content supplied when it is created. If you want the destination behind it to remain manageable, agree the URL arrangement with the person responsible for your website. Ask who controls the address, who can change the page or routing, and what happens if a third-party service is discontinued. The fabrication brief should identify the approved code artwork and destination; it should not imply that purchasing a sign includes ongoing website administration.
Use a recognizable instruction beside the code. View today's menu is more specific than an unexplained graphic. If ordering or payment occurs on another service, make the intended action clear and have your team verify that flow separately. A successful scan to a page is only the first step when the guest is expected to complete a transaction.
Protect the clear area around the code
DENSO WAVE specifies a clear margin four modules wide around every side of a standard QR Code symbol. A module is one of the small square units in the pattern. That margin belongs in the layout; it should not be treated as spare space for a border, table number or decorative mark.
Give the designer the approved code artwork and enough room to arrange the instruction, code and surrounding branding without crowding them. Do not choose an arbitrary universal code size from a photograph. Ask for a proof at the intended finished dimensions, then evaluate the actual code and proposed surface in the setting where it will be used. The margin requirement alone does not establish a guaranteed scan distance or performance on every phone.
If the design is revised, recheck the code in the revised layout. Cropping, placing a logo, changing the background or moving surrounding text can alter the piece you previously tested. Keep the accepted artwork reference with the destination record so the production team can identify which version was approved.
Test from the seat, queue or counter position
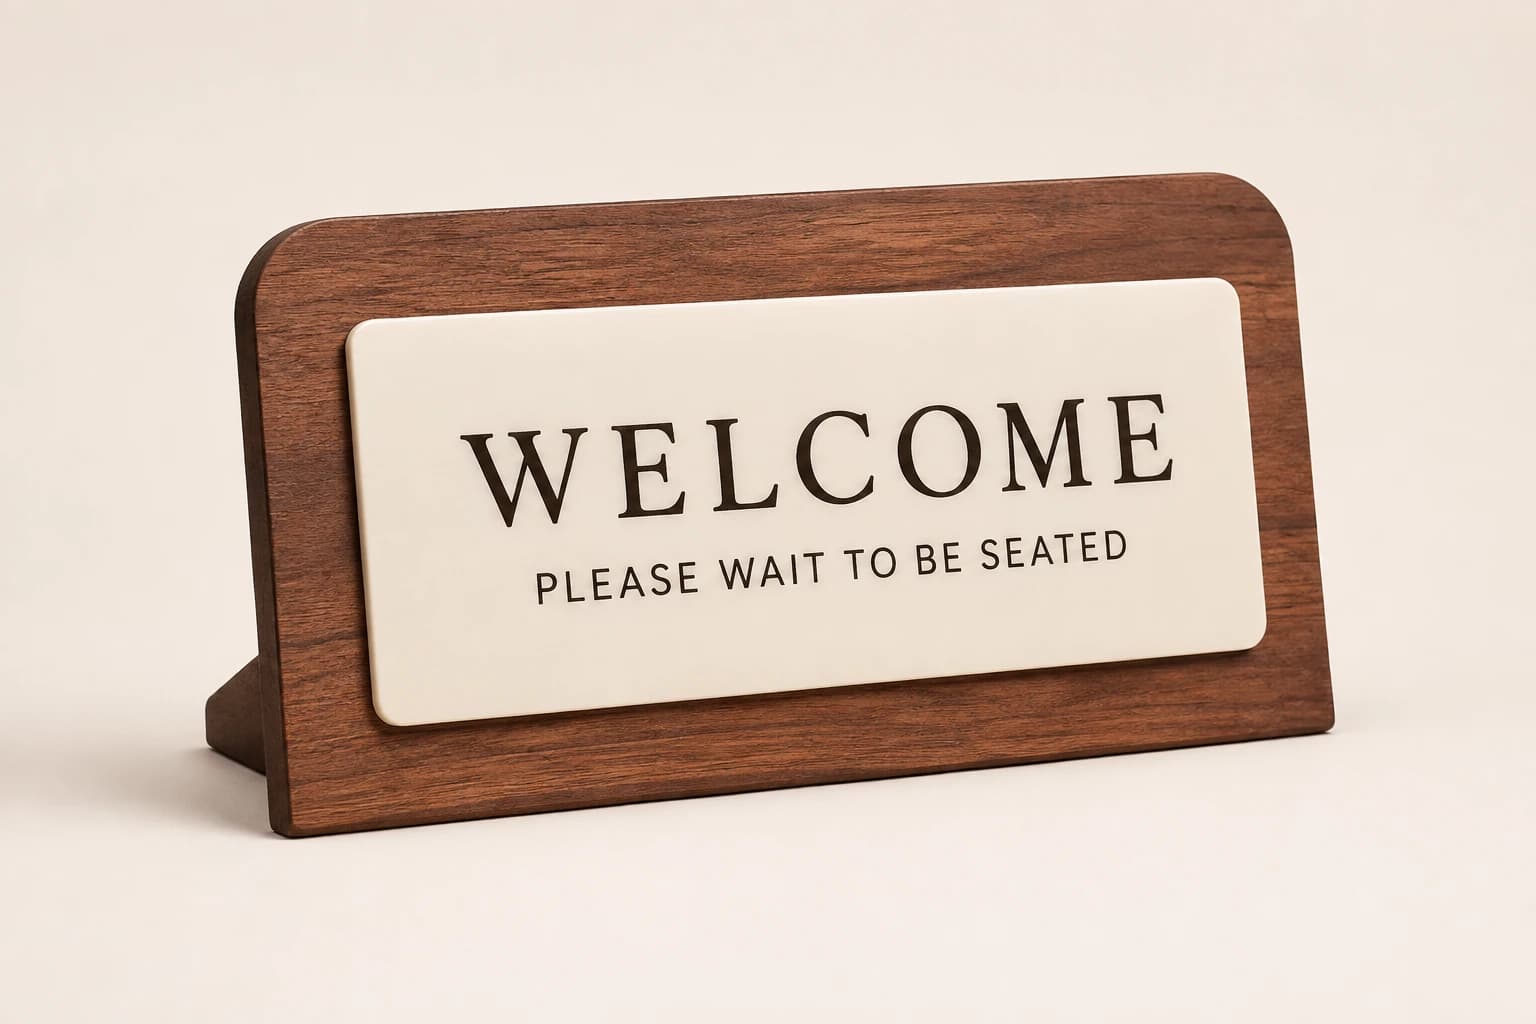
Place the proposed display where the guest will encounter it. At a dining table, try it from the seats that will actually use it, with the usual table setting in place. At a host stand, test the approach from the queue. A sign that looks balanced on a design screen may be obscured by a condiment holder, point away from part of the table or compete with another instruction at the entrance.
Use the intended code and destination during the test. Try the guest action on the devices available to your team, under the lighting and connection conditions you can reasonably reproduce. Record what happened, which setup you used and which change you propose. These observations help approve your specific arrangement; they are not a claim that the sign has been universally tested for every customer or environment.
For a static display, read the content from the same intended position. Check the full message, not just the largest heading. If the reader needs to pick up or turn the sign, decide whether that behavior fits the service. For a two-sided display, review both faces and make sure the orientation is clear in the proof.
Count the display assemblies in your floor plan
Load the illustrative 24-table plan with two host displays. Enter a separate calculation if another display type needs a different quantity or construction.
Method: Multiply tables or stations by the entered signs per position, then add other signs and explicit spares. Artwork variants, printed faces and QR destinations remain separate schedule fields.
Build your plan
Count separate dining areas and event layouts before entering the table total. Spares are an explicit input.
Use the article’s example files
Download the illustrative working file and replace its sample entries with your approved project information. Review the article’s instructions before importing or releasing it for production.
Illustrative plan: 24 tables, two host displays
Suppose a restaurant chooses one display assembly for each of 24 tables and two separate host-stand displays. The physical inventory is 24 × 1 + 2 = 26 assemblies, before any explicitly selected spares. This is a hypothetical floor plan, not a completed installation or a suggested quantity for every restaurant.
If each table assembly has two printed faces, the table portion contains 48 faces across 24 assemblies. If each host display is single-sided, there are 50 printed faces in the full plan, still carried by 26 assemblies. Those numbers answer different production questions. A quote request that says only 50 signs could be interpreted as twice as many table objects as you need.
Now suppose the front and back of each table display use the same menu code, while the host displays direct guests to a different page. There may be two destination types, even though there are 50 printed faces. If every table also includes its own number, there are additional artwork variants. Record assemblies, faces, destinations and variable text separately so the quote can describe the actual job.
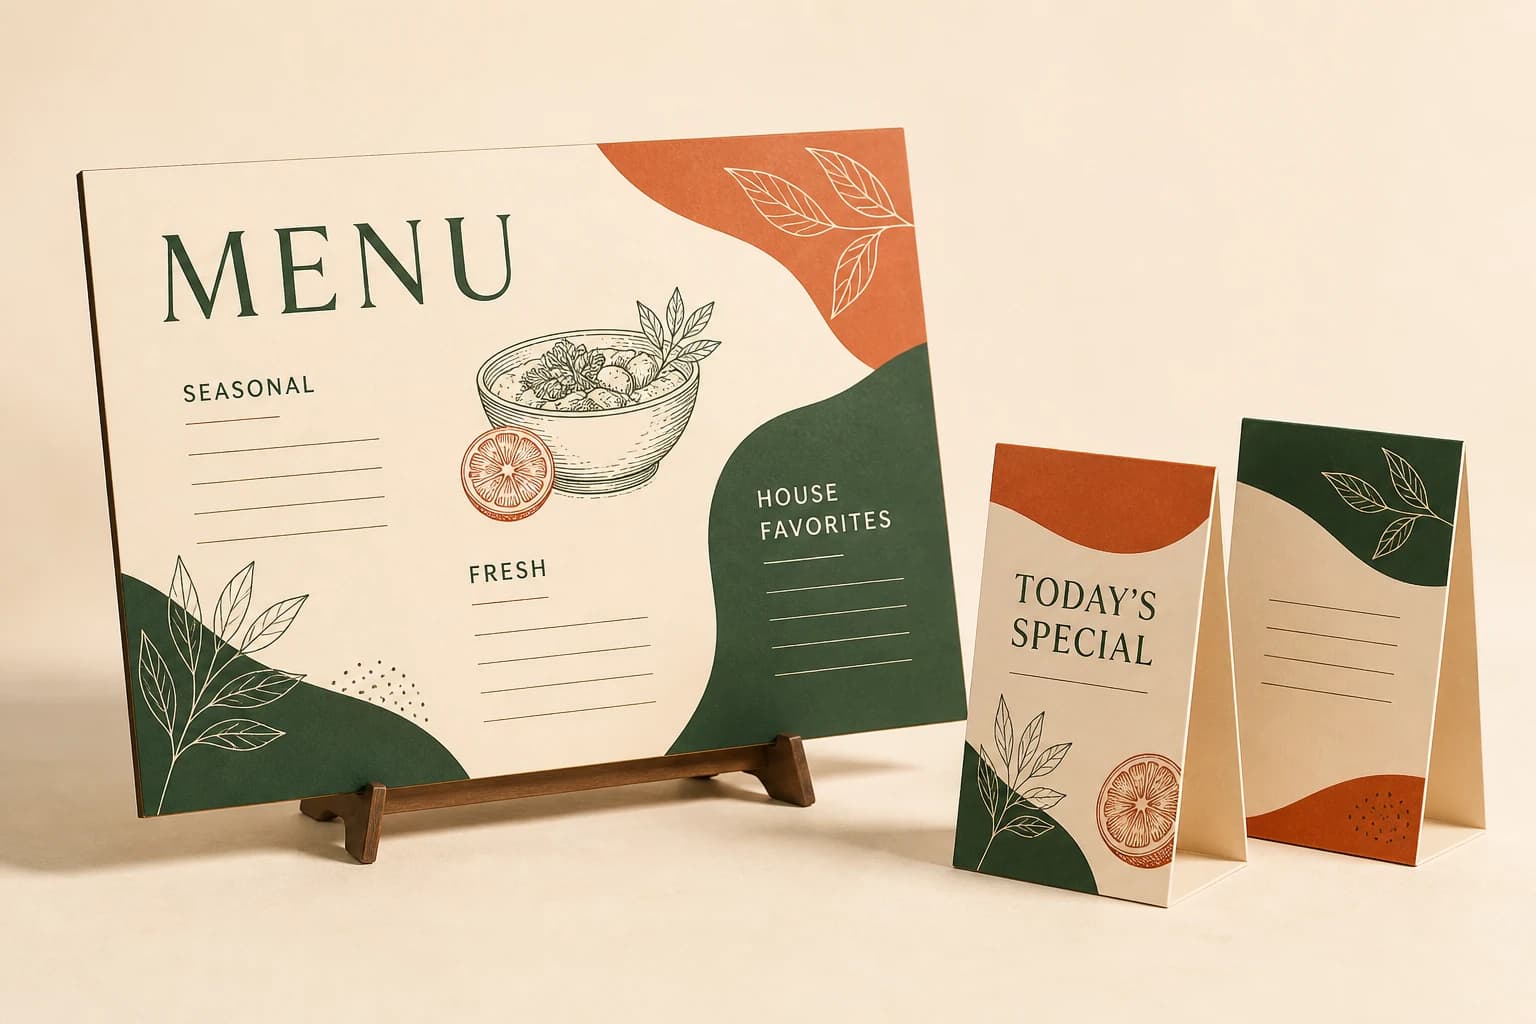
Compare the three display approaches
Use the same guest position and content list when comparing options. The choice should account for who maintains the information after the signs arrive.
| Option | Useful when | Decisions to settle |
|---|---|---|
| Static menu display | Guests should read the chosen information directly on the physical display. | How much text belongs at the viewing position, what changes, and how the printed content is replaced. |
| QR menu sign | The intended next step is opening a maintained online menu or other specific destination. | The exact URL, who maintains it, the instruction, actual-size code test and an alternative guest path. |
| Combined display | A short printed message and an online destination serve different parts of the same guest decision. | Which information stays in print, which lives online, and how duplicated details remain consistent. |
| Two-sided assembly | The same physical position needs to communicate toward two viewing directions. | Whether the faces match, the orientation of each side and the difference between face count and object count. |
Plan the alternative guest path
Decide how a guest can obtain the menu without using a phone or scanning the code. That could be a printed menu, a readable display or a clear request to a staff member, depending on your service. Make the alternative easy for staff to explain and keep it aligned with the menu guests reach online. Do not leave the sign's design team to invent an operational fallback after the artwork is finished.
Walk through the service when the online destination is unavailable or showing the wrong content. Identify who staff should contact and what they should offer the guest in the meantime. The sign itself cannot resolve a website outage. A small amount of preparation here makes the physical display part of a workable service rather than the sole way to obtain essential menu information.
Approve the object and the content it points to
The release brief should include the design reference, finished dimensions, number of assemblies, printed faces, variable text and approved QR artwork where used. Add the intended position, cleaning routine and any requested mounting or insert arrangement for material and construction review. Ask the quote to state what is included rather than inferring those details from the concept images.
Keep a simple location-to-layout record after installation. When a menu destination changes, identify which physical signs use it and verify the guest path again. When ordering replacements, use the approved artwork reference and reconfirm that the code still opens the intended destination. A replacement that faithfully repeats an obsolete address is visually consistent but does not solve the restaurant's need.
Menu-display questions
Is a QR menu sign better than a printed menu?
It depends on the guest action and your update process. QR signs need a maintained destination and a practical alternative for guests who do not scan. Static displays put the selected information directly in view but need a replacement process when that information changes.
Does a two-sided sign count as two signs?
Describe it as one assembly with two printed faces if that is the construction you want. Give the quote both counts and identify whether the faces share artwork or need different layouts.
Can I change the menu without replacing the sign?
That depends on the encoded destination and how your website is managed. Agree the URL arrangement with the website owner before approving the code. A sign order alone does not establish control of a third-party link or include ongoing menu maintenance.
Can you guarantee a code will scan from any seat?
The design needs a test with the actual code, dimensions, proposed surface and table arrangement. No general margin or size rule proves performance from every position or on every device. Use the observed test to approve the specific setup.
Explore the collection’s design direction
This existing narrated collection overview introduces the product designs. It provides visual background; the specific decision, comparison and worked example are in the article above. Images are original concepts rather than completed customer orders.
25-second overview
Explain the reference
A reference photo starts the conversation. Measure the real placement, identify what customers need to read, and separate fixed wording from information that changes. Keep the QR destination under your control and preserve its clear margin. Review a sample where the sign will be used. Then prepare quantities, artwork and delivery details for your quote.
Prepare your brief and request a written quote.
Bring this decision into your design brief
Choose a relevant product direction and include the measurements, quantity, approved wording and delivery destination for your project. We can then develop a specific design and quote around those requirements.
Sources and scope
The sources below support the cited technical details. The ordering workflows are editorial recommendations. Your project specification, price and schedule are established in the written quote and approved proof.
- DENSO WAVE: Point for determining the code area · checked 2026-09-05
Which buying guide should you read next?
All buying guidesChoose a Table Number Co host-stand sign by where guests first look and how the display will be supported. For worldwide orders, specify a countertop base, separate floor stand or wall mounting before choosing the face material. A sign face alone does not establish the footprint, height or hardware of the finished display.
Use the active table list for number signs and simultaneous use for reserved markers. Keep exact replacement numbers and two-sided objects clear in the count.
A table sign maker's guide to numbering restaurant tables: four systems compared, point-of-view counting, POS naming limits from vendor documentation, combined and seasonal tables, numeral height by reading distance and a numbering worksheet, ending in a 32-table worked example.
Build the order around what each sign asks a guest or staff member to do. Count table numbers, menu links, reservation markers and permanent identity signs separately. Approve the destination of every QR code and the language version used at each venue.