Table Number Co · specification guide
Coordinate restaurant table signs across international venues
Build the order around what each sign asks a guest or staff member to do. Count table numbers, menu links, reservation markers and permanent identity signs separately. Approve the destination of every QR code and the language version used at each venue.
Reviewed 2026-09-05 · AI-assisted editorial review. General buying guidance; illustrative scenarios are not customer case studies. Images are AI-generated concepts.
Choose the construction before counting the shipment
A permanent venue logo and a changing menu should not be treated as the same content asset. Ask who owns the link behind a QR code and how its destination will be maintained. Review the actual proposed code at the finished size and placement. A successful scan from an artwork screen does not demonstrate the installed sign's usability. For several restaurants, separate a shared visual layout from venue-specific numbers, links and translated instructions.
A worked quantity example
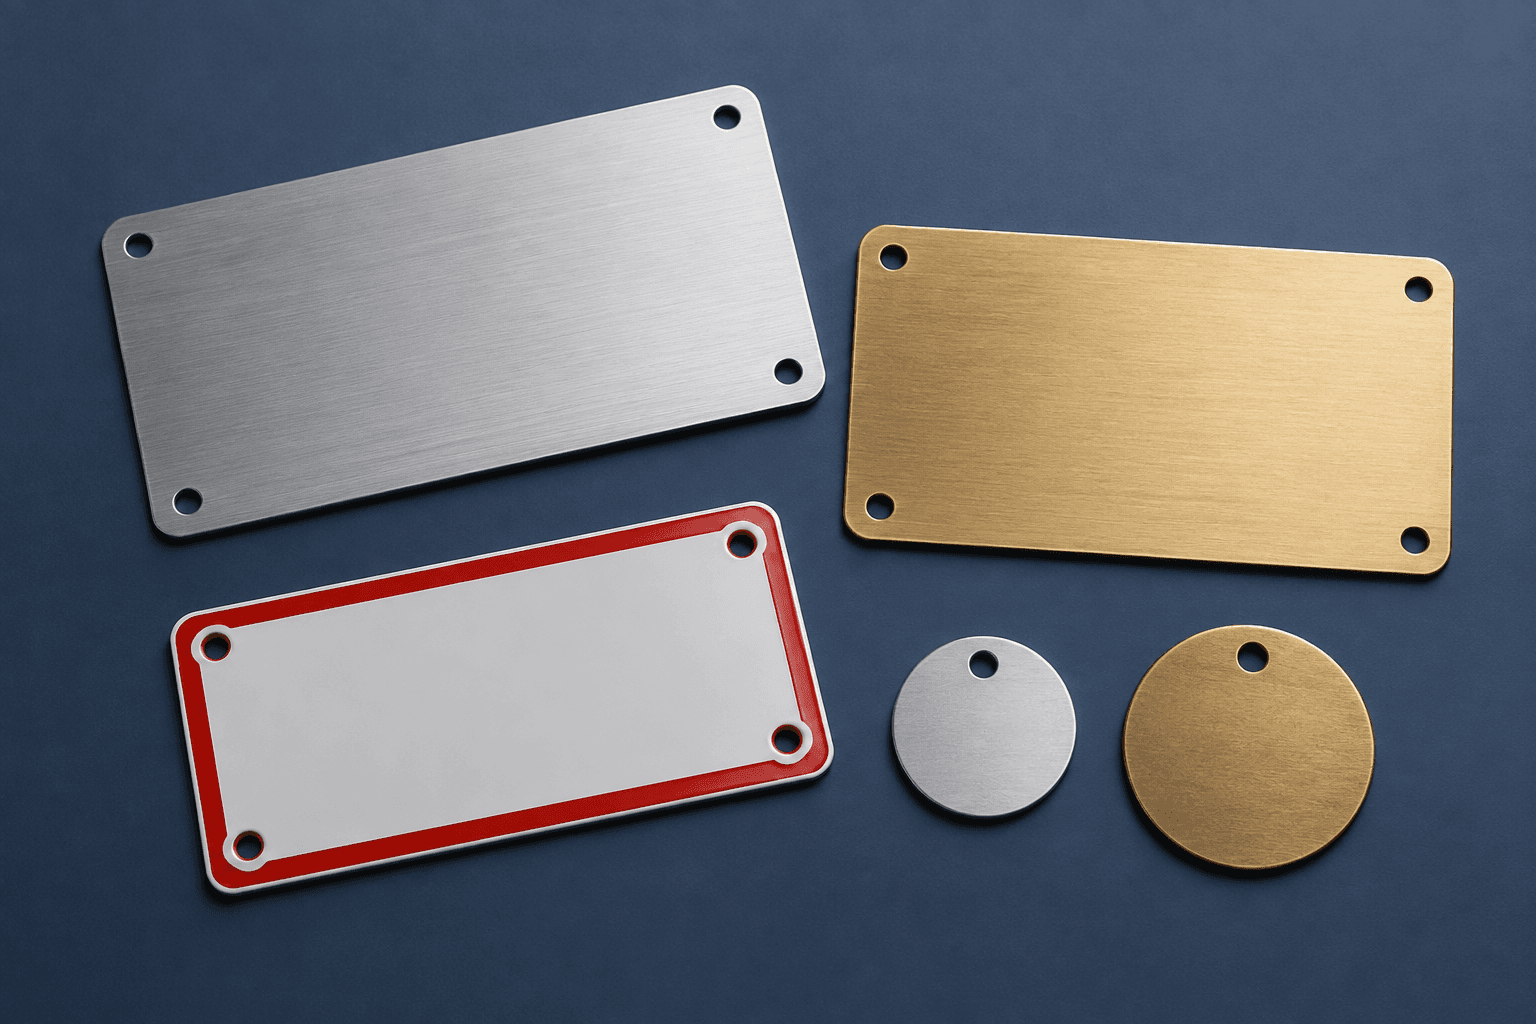
Illustrative order: two venues each have 18 tables. Every table gets one menu sign, six tables per venue also need a separate reservation marker, and each venue gets one host-desk sign. That is 36 menu signs, 12 reservation markers and two host signs, for 50 pieces. If a single reversible sign is proposed for two functions, describe the faces and how staff will use it before removing a line from the order.
Compare relevant design starting points
The catalog offers different starting points for this brief. Compare the intended use and proposed specification below, then ask which construction and included components fit your own receiving and display plan. These are design proposals, not measured packed goods.
| Option | Intended use | Proposed material and size | Personalization |
|---|---|---|---|
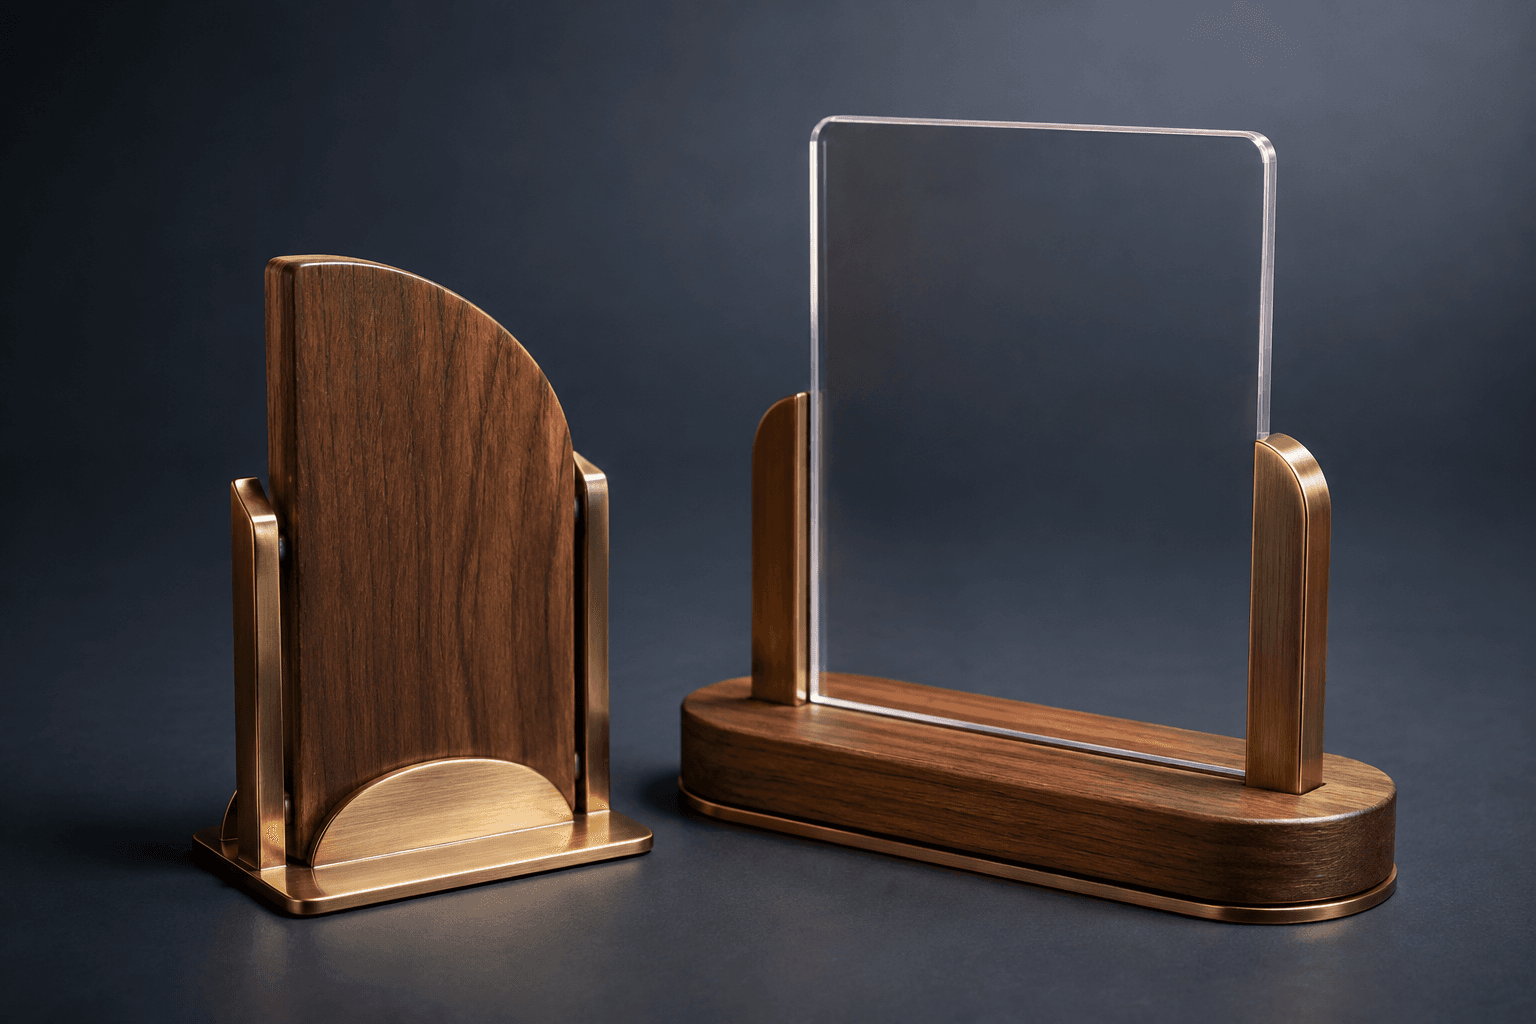
| Restaurant Table Number Set | Give the dining room a coordinated set of table signs that earns its space. This set brings table numbers, reserved messages and optional QR artwork into one visual family. | Walnut, brushed metal and acrylic. 4 × 6 in per sign | Restaurant; Table number; Message; Menu address |
| QR Code Menu Sign | Put the menu link where guests can find it without searching. A dedicated QR sign pairs your code with a short instruction and restaurant identity. | Acrylic or wood. 4" x 6" | Restaurant; Instruction; Menu address |
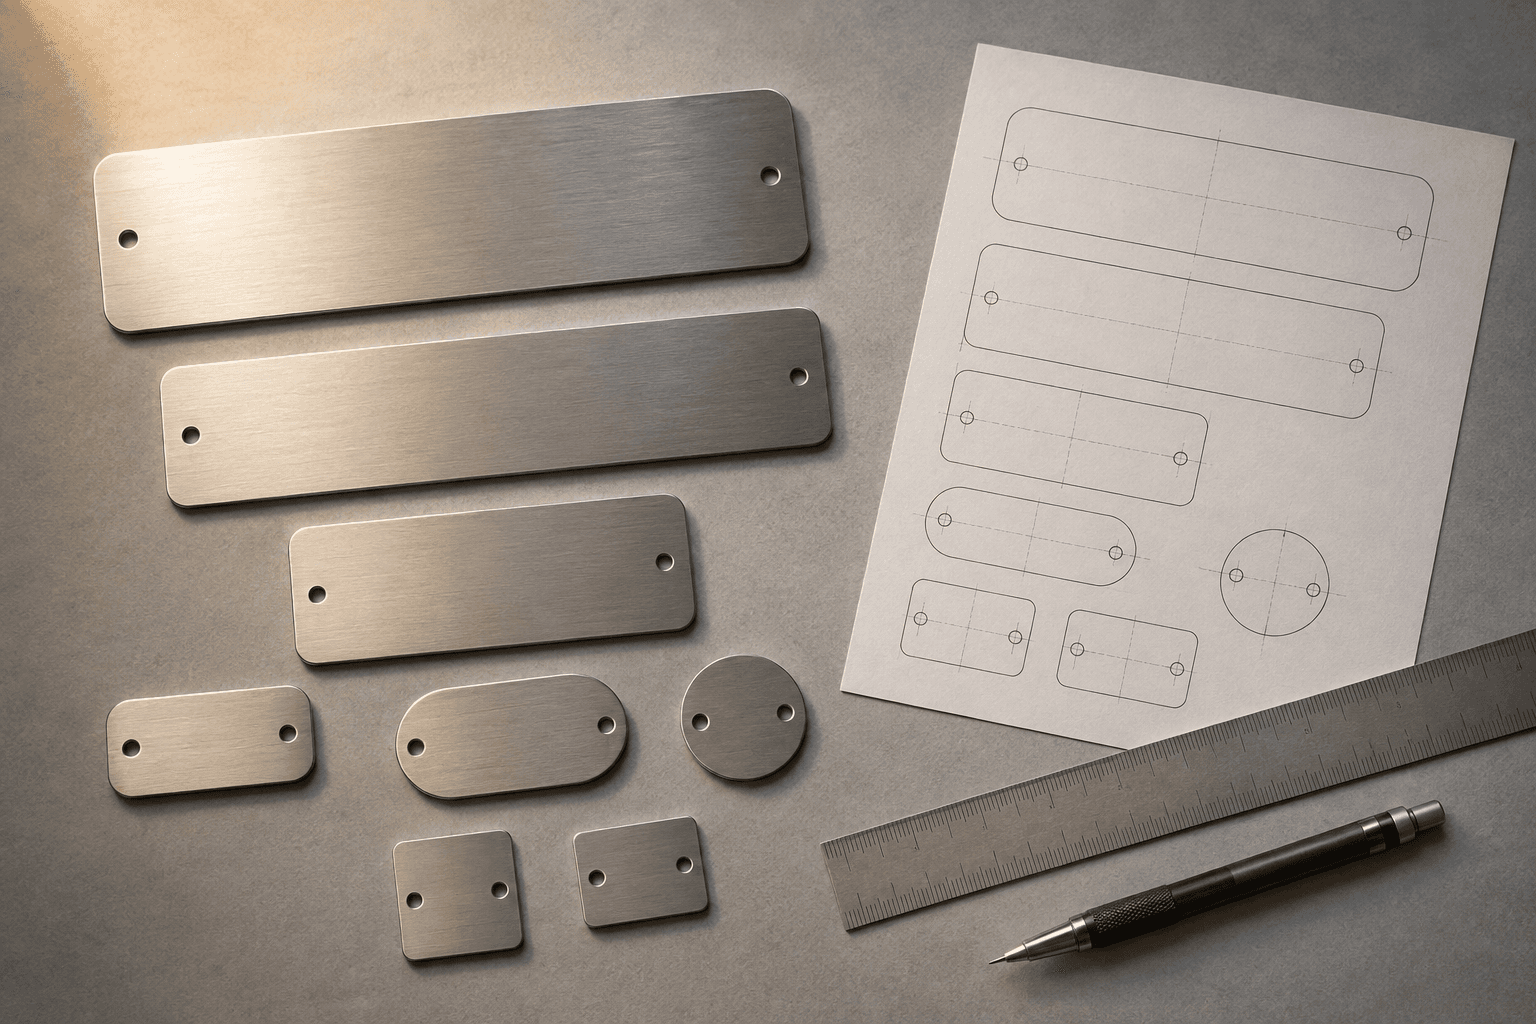
| Staff Nameplate & Badge | Help guests address the right person with coordinated staff badges and nameplates. Names and roles can follow one layout across the front of house. | Acrylic or metal. 3" x 1" | Name; Role; Restaurant |
| Restaurant Award Wall Plaque | Display a restaurant's actual recognition in a consistent wall-plaque format. The piece can reproduce an approved award title, issuing organization and year. | Wood or acrylic. 10" x 8" | Restaurant; Recognition; Presented by; Year |
When to consider Restaurant Table Number Set
Choose the function of each sign before ordering a matching set. A table number must be visible to staff, while a menu QR code needs a guest-facing position and a working destination you control.
Example layout fields: Restaurant: Juniper Table; Table number: 12; Message: Welcome to our table; Menu address: https://example.com/menu. The names and wording are illustrative. Open this design from the collection to replace them with your approved information.
When to consider QR Code Menu Sign
Use a web address you control so menu updates do not require new signs. Test the supplied code at its proposed printed size on several phones, and include a readable alternative address where the layout allows.
Example layout fields: Restaurant: Juniper Table; Instruction: Scan for today's menu; Menu address: https://example.com/menu. The names and wording are illustrative. Open this design from the collection to replace them with your approved information.
When to consider Staff Nameplate & Badge
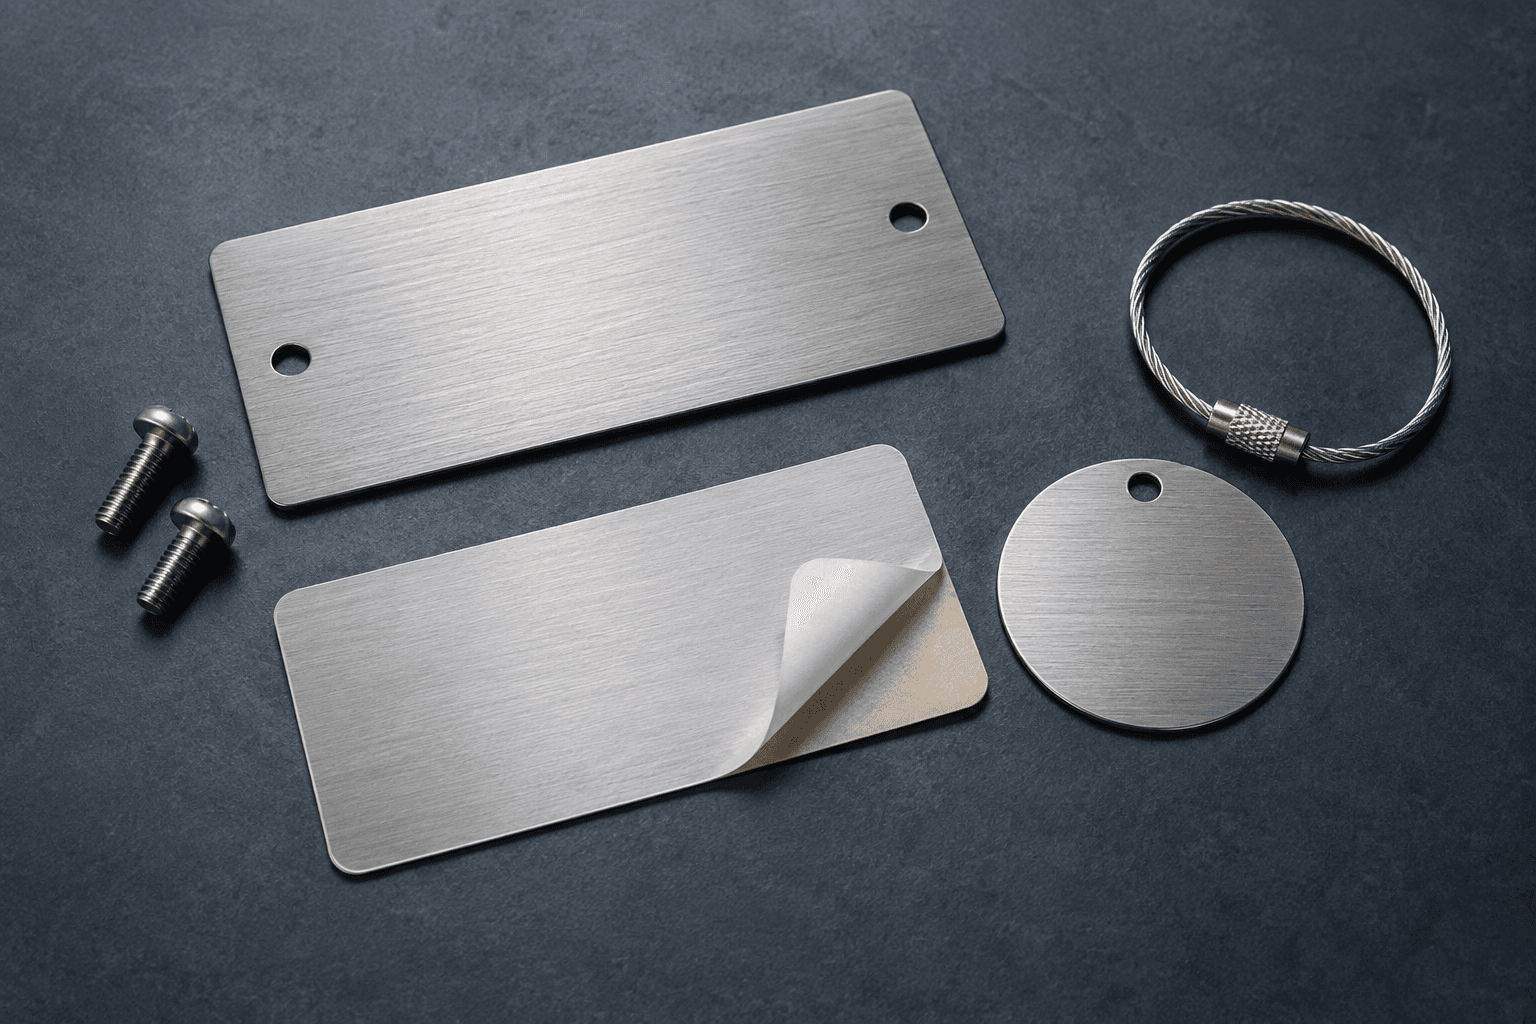
Confirm preferred display names and choose whether roles need to be replaceable. For wearable badges, specify the attachment and uniform use; a counter nameplate requires a different format from a badge worn during service.
Example layout fields: Name: Alex; Role: Guest Experience; Restaurant: Juniper Table. The names and wording are illustrative. Open this design from the collection to replace them with your approved information.
When to consider Restaurant Award Wall Plaque
Provide the exact award wording and permission for any associated logo. The plaque records recognition already received; do not add stars, rankings or endorsements that the issuing organization did not grant.
Example layout fields: Restaurant: Juniper Table; Recognition: Community Hospitality Award; Presented by: Northline Community Group; Year: 2026. The names and wording are illustrative. Open this design from the collection to replace them with your approved information.
Keep the piece count separate from the delivery plan
Use venue and table or station, guest action, approved link and language, single-face or multi-face design as the project-specific headings in the specification file. Add a stable row reference, the quantity of physical pieces and a receiving group. If two pieces share artwork but go to different destinations, keep separate delivery rows. If one person intentionally receives two different awards or signs, preserve both product rows. Repeated names alone are not an error.
The worksheet below totals the pieces you enter and reconciles them by receiving reference. It does not infer how many packages will be needed. One large assembly can require more than one package, and several small pieces may share a package when the final packing plan permits it. Ask for the packed dimensions, weights and component list after the construction is settled. Keep the receiving group names consistent; two slightly different labels are treated as two groups.
Use one controlling unit on the drawing
One inch equals exactly 25.4 millimeters. The worksheet converts entered width and height using that relationship and keeps the original values visible. A converted display is a convenience for review; it does not create a fabrication tolerance or certify physical fit.
Specify whether a measurement describes the overall assembly, the visible face, the engraving area or an opening in an existing holder. Include thickness, depth, hole spacing and support clearances separately when they matter. Do not round a metric opening into a convenient inch size and assume the fit is unchanged. Identify which drawing and measurement control when two references disagree, and have the responsible project contact resolve that disagreement before the proof is released.
Sources: NIST: SI units: length
Proof names and language without changing their meaning
Personal naming conventions vary across cultures. Keep the exact display text supplied by the person approving it, including accents, punctuation and name order. A shipping contact may use a different form of the name from the inscription; the artwork should not be overwritten by an address record.
For several languages, provide each approved version rather than asking the production file to translate itself. Review the longest lines, the intended reading order and any script-specific layout in the actual proof. A typed sample is useful for wording approval, but it does not establish which font or marking method will reproduce it clearly. Use an unambiguous written date or identify the intended numeric date convention. Keep the accepted text and proof revision together so later edits can be traced.
Sources: W3C: Personal names around the world
Reconcile the quantities and prepare a private brief
Enter groups of matching pieces below. Add a receiving reference and optional width and height, then review the total and the unresolved quote details. The examples above are illustrative; replace them with your own order information. No automatic spares, discounts, freight costs or delivery promises are added.
Method: Sum positive whole-piece quantities, group by the exact receiving reference and convert optional dimensions using 25.4 millimeters per inch. No spare pieces are inferred. Display conversions use at most four decimal places and do not establish manufacturing tolerances. Customs, freight, origin and arrival timing remain quote questions.
Build your international order brief
Add groups of pieces sharing a specification and receiving destination. Use an office, venue or country reference here; street addresses are not needed for this planning step. Quantities are pieces, and delivery groups are not parcel counts.
Compare the complete written order, in a stated currency
Ask each option to identify the product quantity and what is included: personalization, new artwork, tooling, presentation packaging, mounting parts or assembly work. Keep one-time charges separate from recurring piece charges so a future reorder can be discussed accurately. A starting price for a small component is not the price of a complete display. Compare the alternatives against the same approved brief before deciding that one total represents a saving.
Record the currency code next to each quoted amount. Do not combine a product estimate in one currency with a freight amount in another without an explicit conversion source and date. Ask the quote to state the freight service, any quoted import charges and the party responsible for charges that are not included. The worksheet records your requested arrangement, which still needs written confirmation. It calculates no selling price, exchange rate, tax rate or customs charge.
Confirm shipment details for the actual destination
Commercial invoices identify goods, quantities and values. Ask the shipping contact to confirm the accurate product descriptions, origin information and other documentation required for the particular shipment. This guide and its worksheet are planning aids, not customs declarations.
Give the quoting team the receiving country and the actual destination details through the order process. Confirm the ship-from location, the available service and who will answer delivery or import questions. Do not infer the origin of the goods from the storefront name or assume that an event gift has no reportable value. Keep production completion, carrier transit and the requested in-hand date as separate milestones in the written plan. The receiving date you enter below is a request, not a calculated arrival commitment.
Prepare the handoff and the receiving check
Pack by venue and dining area, retaining a reference to the approved link and sign version. A receiving manager should be able to test the intended menu destination before the signs enter service. Keep spare signs and generic reservation markers separate from numbered pieces so staff do not accidentally duplicate table numbers.
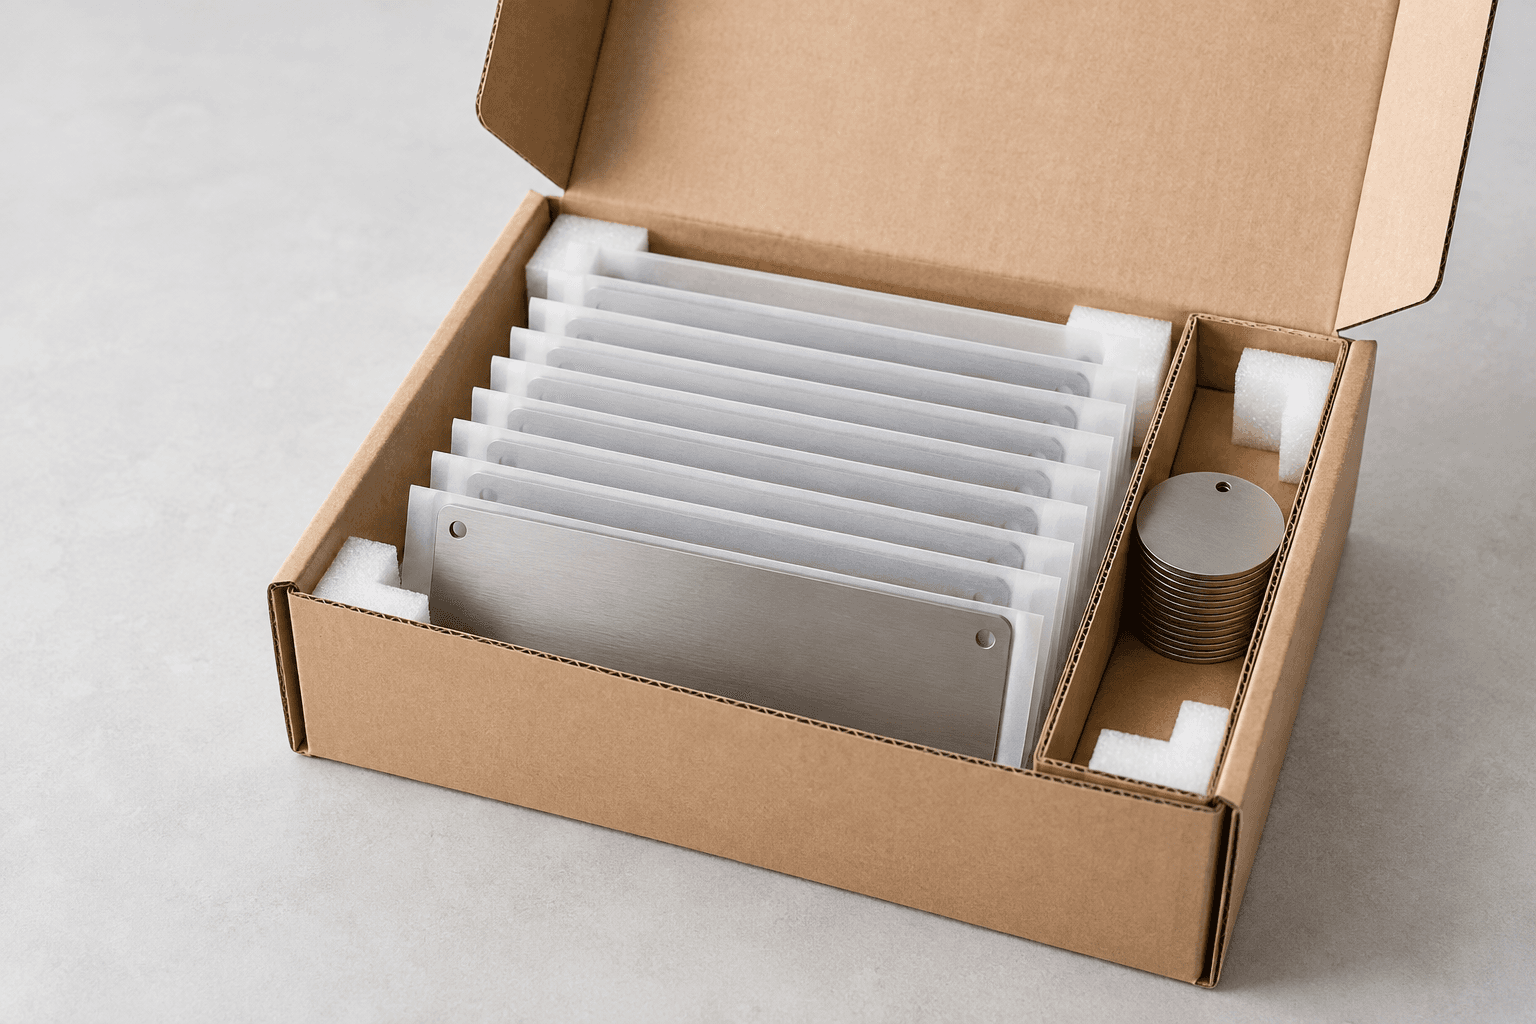
Before distribution, match the delivered piece references and component counts to the approved schedule. Check the wording against the accepted proof and keep the packaging while any discrepancy is being reviewed. Identify the affected row, proof revision and photographs when requesting help. Preserve the order record for replacements or a repeat event; a later order still needs its own confirmed specification, price and schedule.
Collection planning overview
This existing narrated collection overview provides background for the design choice. Use the international worksheet and the receiving schedule in this guide for the delivery brief. The visuals are original design concepts rather than footage of completed shipments.
25-second overview
Explain the reference
A reference photo starts the conversation. Measure the real placement, identify what customers need to read, and separate fixed wording from information that changes. Keep the QR destination under your control and preserve its clear margin. Review a sample where the sign will be used. Then prepare quantities, artwork and delivery details for your quote.
Prepare your brief and request a written quote.
Questions before the order is released
Does one delivery group mean one parcel?
No. A delivery group connects pieces to a receiver or location. The final construction, packed dimensions and protection determine the package plan. Ask for the actual parcel or freight details in the quote.
Does entering a country confirm delivery service?
No. The worksheet records the destination you want quoted. The order team confirms service for the actual address, shipping arrangements and timing in the written quote.
Will the worksheet add spare pieces or discounts?
No. It adds only the quantities you enter. Create an explicit spare-pieces row if you want extras, and keep personalized pieces separate from blanks. Any discount belongs in the written quote.
Which project details should accompany this brief?
Include venue and table or station; guest action; approved link and language; single-face or multi-face design. Keep the exact approved text and the physical specification linked to a stable row reference, then identify the receiving group for each piece.
Turn the schedule into a specific quote request
Choose a design, reconcile the physical pieces and include the decisions that remain open. The quote team can then review the construction, artwork, packing and delivery requirements as one defined project. Save the worksheet result with your approved source files so a later change can be applied to the correct group.
Sources and scope
The sources below support the cited technical details. The ordering workflows are editorial recommendations. Your project specification, price and schedule are established in the written quote and approved proof.
- NIST: SI units: length · checked 2026-09-05
- W3C: Personal names around the world · checked 2026-09-05
- UPS: How to create a commercial invoice · checked 2026-09-05
Which buying guide should you read next?
All buying guidesChoose a Table Number Co host-stand sign by where guests first look and how the display will be supported. For worldwide orders, specify a countertop base, separate floor stand or wall mounting before choosing the face material. A sign face alone does not establish the footprint, height or hardware of the finished display.
Use the active table list for number signs and simultaneous use for reserved markers. Keep exact replacement numbers and two-sided objects clear in the count.
A table sign maker's guide to numbering restaurant tables: four systems compared, point-of-view counting, POS naming limits from vendor documentation, combined and seasonal tables, numeral height by reading distance and a numbering worksheet, ending in a 32-table worked example.
Several restaurants can share one sign style while using different menu destinations. Match each code, artwork version and physical shipment to the intended location.